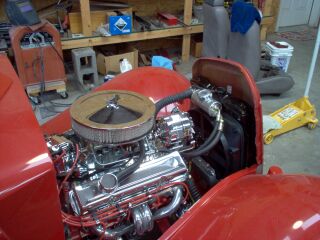
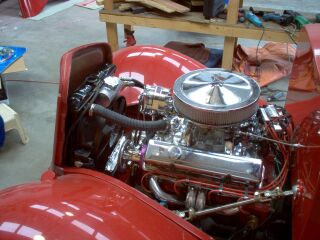
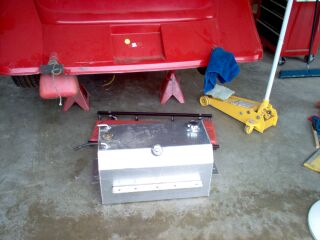
Finally figured out a place to mount the power steering reservoir. The fan shroud is nice and sturdy and has a flat spot on top, so I used two 1/4" bolts to hold it on. The big hose goes to the pump and the small one is the return from the power steering rack.
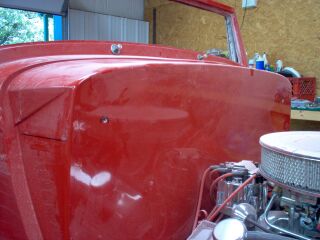
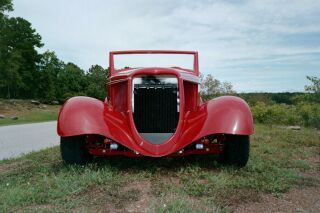
I taped the grill shell in place and laid the hood on to make sure it all fits. Pretty close. I plan to run the car without the side panels between the hood and fenders. I figure all that chrome stuff needs to be out there where you can see it.
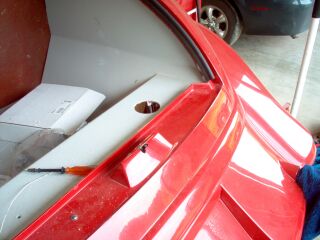
I took the doors off one more time to try to get them up a little in front. I need about 1/8" to make the body lines just right. If I get it, that's great, but this is the last time I'm doing these doors. Also, I cut out the fiberglass inside the windshield frame.
The assembly manual tells you to mount the tank with the fuel filler nozzle sticking out the back. This means you have to cut a hole in the body above the license plate for the gas cap. It's a nice billet aluminum cap and all, but even if I did cut the hole in exactly the right place, which would be a miracle, it would still look like a nice billet aluminum wart back there. I'm not even having door handles on the car, I'm sure not having a gas cap sticking out the back.
So, I took the tank to the welder and had a fuel filler neck welded on the top. Then plugged the hole that was supposed to be the filler. That will put the gas cap inside the trunk. The cap wound up being just below the level of the trunk at that spot, so I'll make a little flap on a hinge to cover it up.

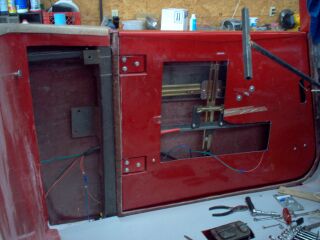
Here's the receiver and solenoids, etc. for the remote door openers.
It's hard to tell from this dark photo, but the wires go into the door through some 3/8" fuel line. The door openers came with some really slick stainless flex line to run the wires through, but with the power window wires they weren't big enough. Also, when the door opens, it actually goes around behind the door jam and really crimps whatever's going through there. I made the hole in the door just barely big enough to jam the hose through, and the hole in the door jamb really big so it will work back and forth as the door opens and closes. I also put hose clamps on the hose inside and outside of the door to keep it from pulling loose. I hope.
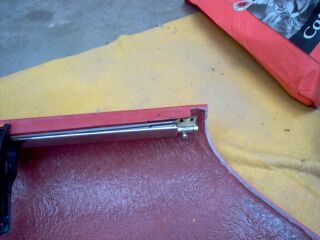
Installed the VW windshield wiper mechanism. I don't really like it hanging from the fiberglass like that, so I made a couple of brackets to spread the weight across the windshield frame a little, and I'll make a bracket that will go from the motor to the firewall upright. It's not heavy at all, but it will be bouncing up and down as I go down the road.
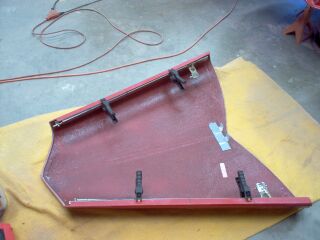
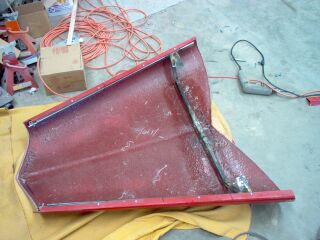
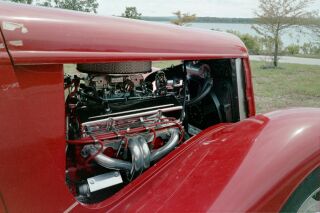
Here's the hood, flipped upside down. I needed to make brackets to attach the hood to the body and the grill shell. You're supposed to build this car with side panels on each side of the engine, but I can't see making the engine all pretty and chrome and then covering it up. The side panels are supposed to be bolted on with 3/4" steel tubing that would be behind them. Since I'm not using the side panels and don't want the bracing to be visible I had to make a trip to the hardware store. I used 3/4" steel tubing run the length of the hood on each side, but up above the lip on the lower edge. One the front I used a regular 2" slide locker that attaches into the other part which is mounted to the inside of the grill shell.
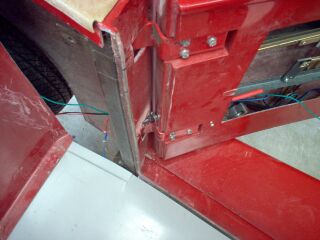
You can barely see it in the center of the photo. I used the same, but 3" on the rear and made a bracket on each side to put it out at the right angle. It slides into a hole in the firewall. You can see a mark on the side of the body indicating the lower edge of the hood, and you can see the hole, a few inches above. You have to get down on your knees and look up in there to see it when the hood is on. I'll bolster it with a piece of sheet metal with a 3/8" hole drilled in it, bondo'd to the inside of the firewall.
Here's it all glassed to the hood. I added a cross-brace since the hood is really thin at the back. Now when it's all buckled down it's solid.

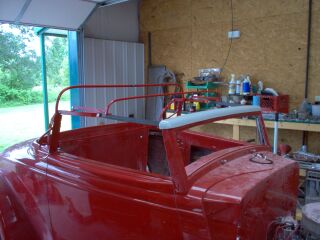
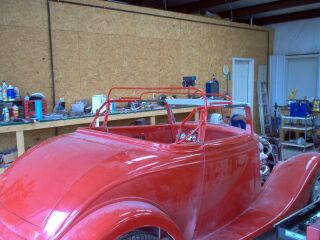
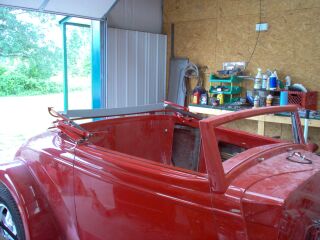
After spending all day yesterday trying to lay out the convertible top on the floor and trying to figure out what goes where with all the bows and brackets, etc., I clamped the hinges to the body and the front cap to the windshield and worked from there. Turns out the hinge on the passenger side is off enough that I'll have to either make another one or really tweak this one. There is still a rear bow and a pair of sliding brackets that keep the side rails straight. They're a little droopy now. The top will go down all the way once the hinges are bolted on and the clamps are out of there.

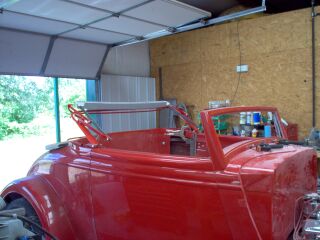
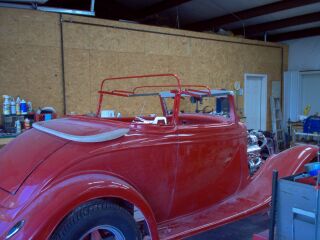
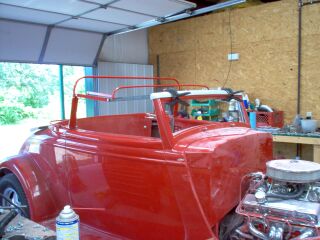
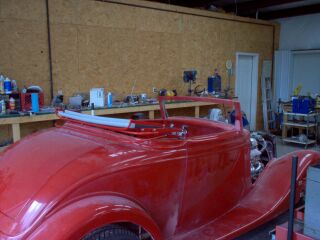
Here we go, brackets in place and holding the top up with arms straight. Top up:
Top down:
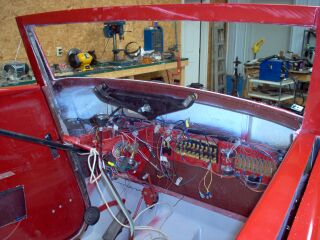
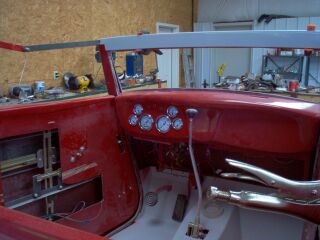
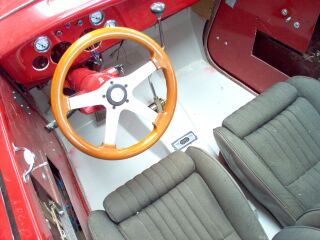
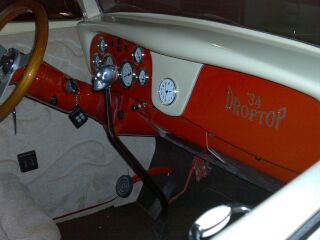
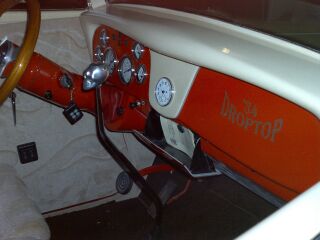
I looked and looked for some kind of a dash insert, billet or wood or something, to mount the gauges in, but all I could find were for 5 gauges (no tach). They all suggest mounting the tach in the center section of the dash, but I didn't like that. So, I took a deep breath and started drilling holes in the dash. Turned out OK.
Well, my fancy over-engineered power steering pump powered brake system doesn't work. I had to flip it over so the hydraulic lines would run under the car, and I think that created a problem with air trapped in the pump that would not bleed out. The input and output lines come out the top in the regular configuration so any air in the system would bleed itself out. It just didn't work upside down. The pedal chattered, sometimes the brake pedal would not come back up until I shut the motor off, etc. Luckily I was able to get it all out, since it was all nestled up between frame rails. I was afraid I was going to have to pull the floorboard out again. I'll leave the brake pedal the way it is and mount a regular power brake booster and master cylinder in its place.
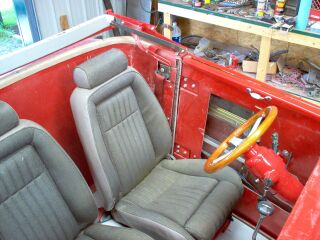
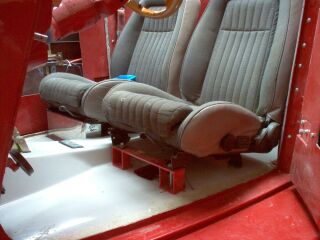
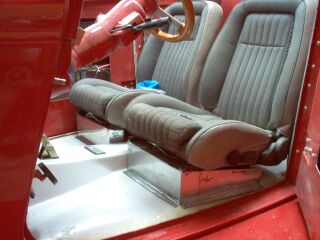
As soon as the new brake stuff gets here I'll be ready to drive this car for awhile to shake it down. Both seats are in, steering column and wheel, wiring hooked up, and seat belts installed. There's new covers for the seats to match the door panels and the top, light beige color. Got front and rear bumpers on.
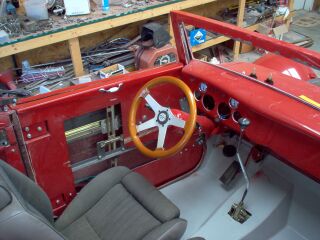
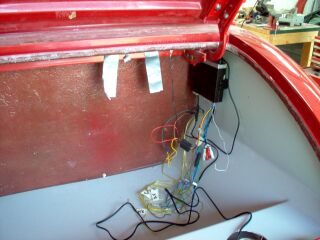
I didn't want to bugger up the dash with a radio since no matter what kind of radio I got, it just wouldn't look like it belonged there with all the round white gauges. So I got a Secret Sound system from Custom Auto Sound. It has a small face that's only 4" wide by about 2" tall by only about 1" deep. There's a cable that runs from this unit to the actual radio that I mounted in the trunk. The small unit I mounted six inches back from the shifter in the middle of the transmission tunnel. It worked the first time I fired it up and it's pretty slick. Tomorrow I'll deal with all the extra wires. Bundle them up and tuck them away.
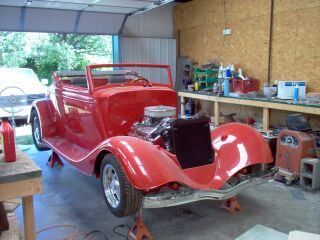
I mounted the oil, temp, and fuel gauges and starting the shaking down process. I also installed a pair of suicide door locks just in case the latches try to rattle loose. I've run it up and down the highway for the last few days, today I took it down to the lake to get a couple of pics somewhere else but in my driveway.
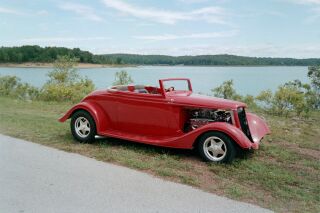
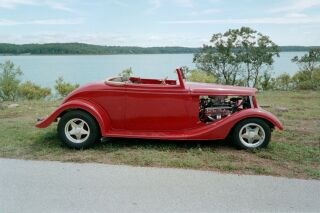
So far I've discovered a couple of little oil leaks and a fuel leak from the tank where I had to bump a little dent into the side of it to get it to clear the steel fuel line. I'll run it a few days to get the fuel level down and get some gas tank repair stuff to patch it. After each run I jack it up and travel around under it on the creeper. Still need to adjust the brake bias, I do that a little each time. Got too much going to the front wheels yet.
I didn't know whether or not I wanted to mount the "underdash" panel since it looked like it was going to be really hard to fit, plus it had a rectangular thing sticking out of it to mount the radio I guess. Aside from being totally out of place on a dash where everything else is curved, it wasn't even straight. It angles slightly toward the driver's side of the car. Not enough that you could say it was to make the radio easier to reach for the driver, but enough that you immediately say "Why is that crooked?". So, I cut it out and after hours of cutting, shaped, welding, etc. I came up with a little glove box. It's pretty easy to take out to allow access to change a fuse or something without having to take the whole underdash panel out of the car. Somehow I lost the pics, so these were taken after the car was finished.
I've decided not to run the bumpers on the car, but now what to do with the bumper bracket mounts that stick out from the frame? On the front I put a pair of little blue-bright running lights, and on the rear I found some 2" round lights that just fit. I turned the bumper bracket mount tube around backwards and mounted the lights.

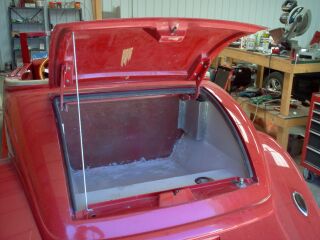
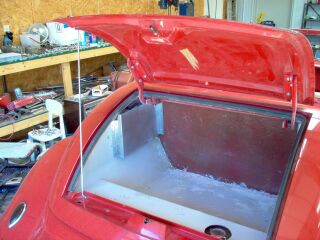
The guys at the local heat/air shop let me dig around in their scrap sheet metal pile, so I can make some bracket and stuff that I ordinarily would not. Here's a before/after of a pair of seat bases and one of a couple of shields I made for the electrical stuff in the trunk.
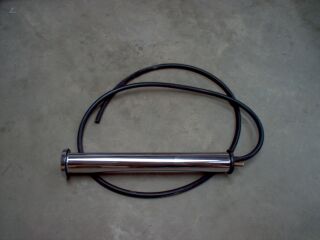
I wasn't going to run a radiator catch tank, but when I filled the radiator up clear to the top and ran the car for a half-hour or so, when I shut if off it spit some water on the garage floor. I couldn't bear the thought of spending $40 plus shipping for a nice looking tank, so I made one. $3.99 at Ace Hardware for the chrome tank, I had the chrome top laying around (it came with the chrome valve covers and I didn't use it), $1.50 for the rubber plug on the bottom at O'Reilly's (GM small block oil filler cap/plug), I had some copper tubing laying around, and so much a foot of rubber hose(not much, but I forget how much) also at O'Reilly's. I need to decide what to use for clamps to hold it on.
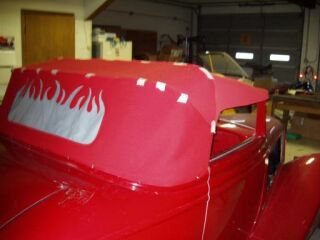
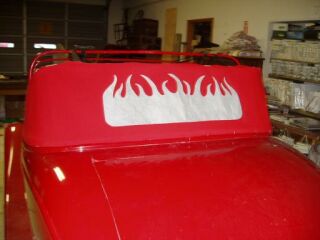
I received a convertible top with the car, but didn't really like the color. It was a light brown and didn't match anything on the car, plus it was that sort of rubber-like cloth material. I decided to let the upholstery guy get some different material and custom make a top. Here's a couple of pics highlighting the flame rear window.
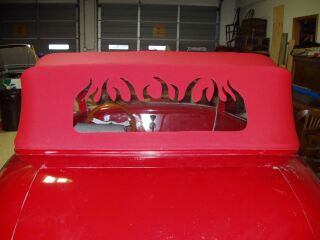
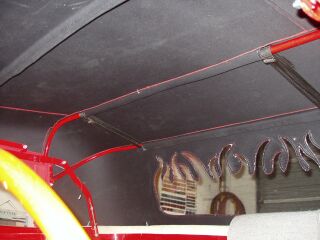
and a few with the top completed on on the car.

Go on to page five.